Spinning your life and brightening your ideas!
1. PURCHASE OF NECESSARY MATERIALS.
✔️ Following the purchase list provided, for the Spinning LED Display project to be done, the materials must be available and organized to facilitate assembly.
➡️ It is possible to reuse some parts of the project with reusable objects, such as the engine support base and the engine itself.
2. FIXING THE ENGINE ON THE CHOSEN BASE
✔️ After selecting the parts and components for the project, a base must be found where the motor can be fixed. It is very important that the angle of the base to the motor is 90° and that the base is level with the project location.
⚠️ NOTE: Before fixing the motor to the base, the switch and the input for the power supply must be soldered.
3. SOLDERING THE COMPONENTS.
✔️ With all the components in hand, in this step you must solder all the components according to the wiring diagram available in the project documentation. Here a lot of attention is required because the cables must be soldered correctly for the code available to work properly.
➡️ In this step you also have to do the tests using the available example codes.
⚠️ You should check: the proper functioning of the LEDs and verify that the colors are correct.
4. PRINTING THE SUPPORT ON THE 3D PRINTER.
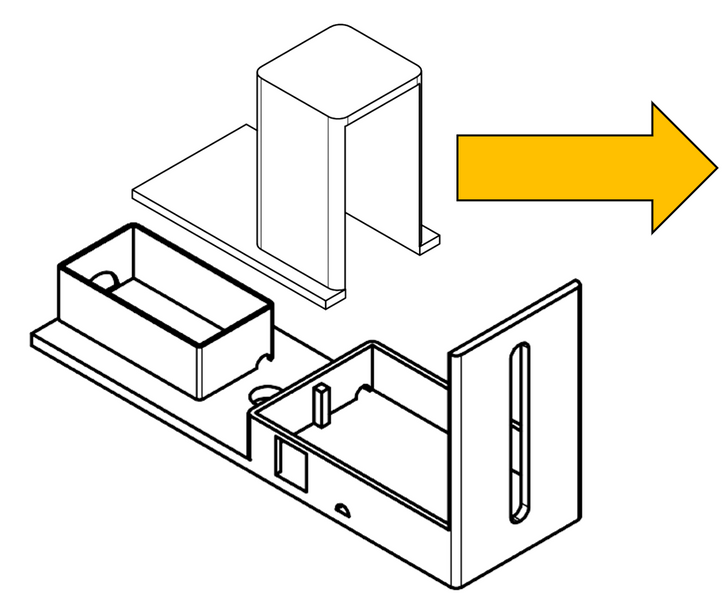
✔️ Using the available support file (support + cover to hide the wiring), the next step is to print it with a 3D printer.
5. FIXING THE BOARD WITH THE LEDS ON THE BRACKET.
⚠️ NOTE: Before fixing everything, here you should weigh ALL the parts: support, the PCB with arduino, cables and all the components and the battery. After that, check the center of mass of the project and calibrate the counterweight.
✔️ With the two main parts of the project done and tested, you should fix the board with the soldered LED's and the wiring + arduino on the 3D printed support. You should also attach the battery adapter and the on/off switch for the voltage to the arduino.
6. ASSEMBLY OF PARTS AND TESTS.
✔️ With the two parts (bracket + electrical part and the motor fixed to the base) made and tested separately, now is the time to assemble them. In the center of the printed support there is a hole where the motor shaft must be fitted. This fitting must be well made and without gaps to avoid any kind of "unwanted force" when turning everything.
➡️ With the fit done, it's time to rotate everything. Connect the motor and, with the programming loaded in the Arduino, put everything to spin.
➡️ At this moment it must be observed that all the LEDs are still on and with the desired color and that the rotation of the entire support is well balanced (observe if the rotation movement is linear looking laterally and if it is balanced).
7. ENJOY THE PROJECT AND CUSTOMIZE.
✔️ Now, with your Spinning LED Display finished, just change the words and colors in the available program and create your own phrase or word!
🎇 Enjoy the project!! 🎇


